MIgration of VM in Hyper-V to Azure
In this tutorial, I would discuss the necessary steps to perform migration of a VM in Hyper-V to Azure
5/22/20243 min read
Objectives:
Create a VM in Hyper-V Create a project Download and install the Azure agent *Replicate the Hyper-V VM Migrate the Hyper-V VM
Task 1: Create a new VM in Hyper-V
OS: Server 2022 or Ubuntu Server
Name: ADMPC
Disk Size: 40 GB
Disable Secure Boot
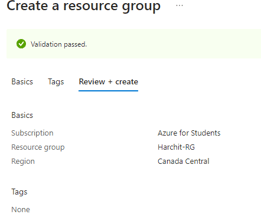
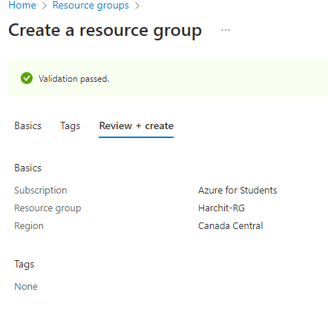
Task 2: Create a new resource group
Name: Harchit-RG
Region: Canada Central
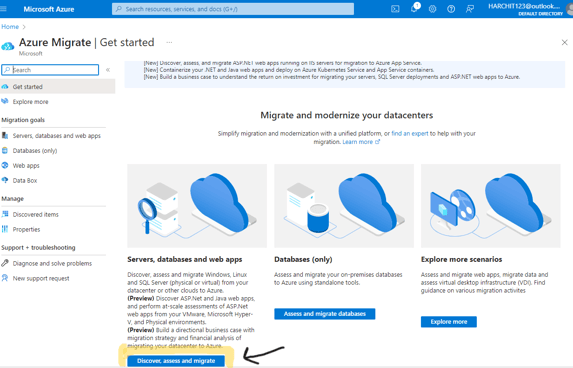
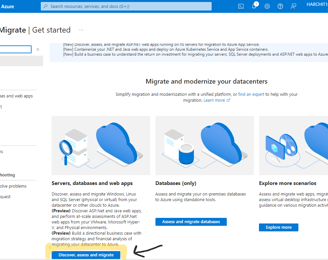
Task 3: Create a project within Azure
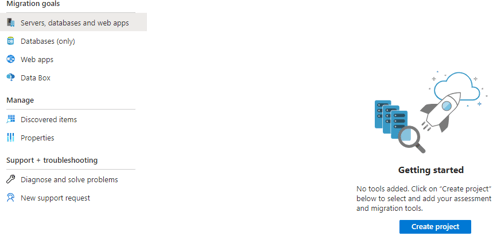
Search for Azure Migrate and select it.
Click "Discover, access and migrate" and then "Create Project".
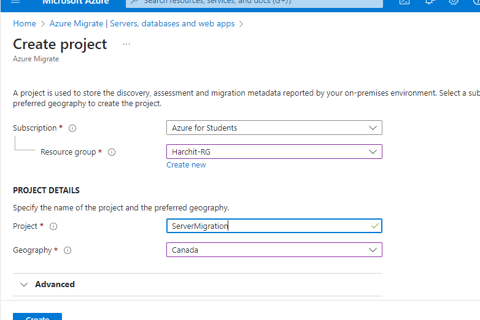
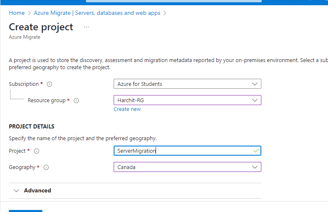
Specify:
Resource group: RG-Lab4
Project name: ServerMigration
Geography: Canada

Task 4: Download and Install Migration Agent
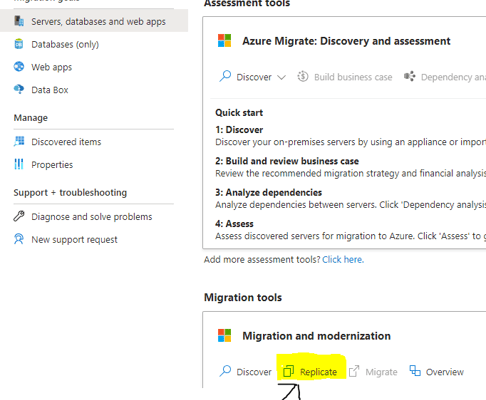
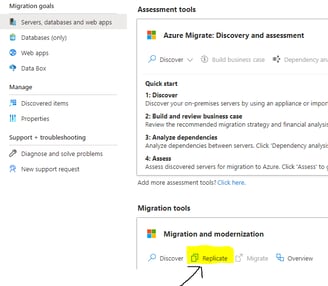
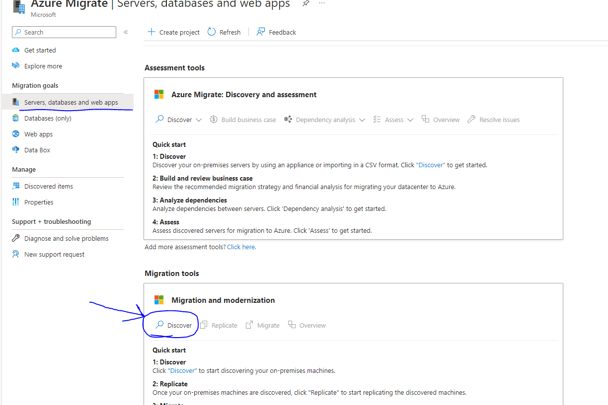
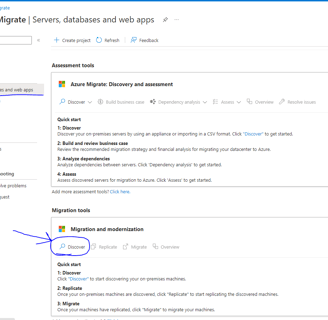
In Azure Migrate, select "Servers, database and web apps" under Migration goals.
Click "Discover" under Migration Tools.
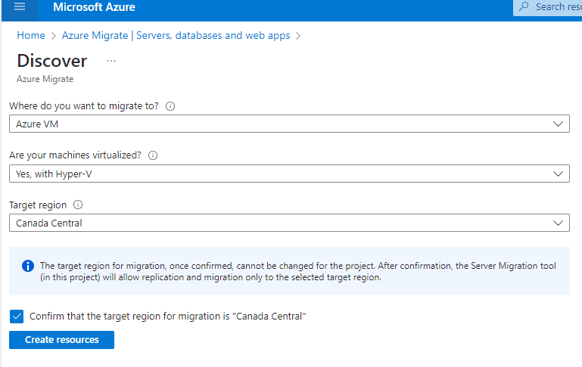
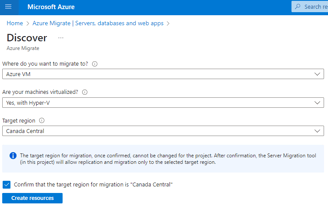
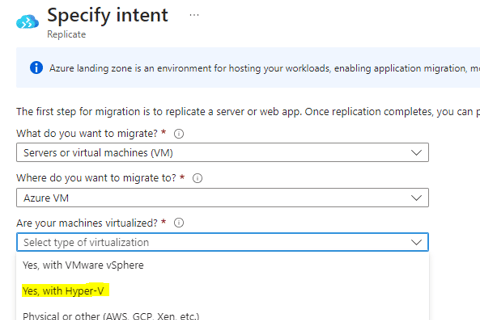
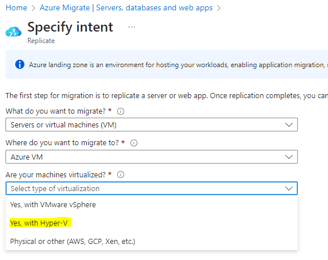
Select Azure VM in the migrate to option and Hyper-V as the machine's virtualization option. Target Region should be Canada Central and click 'Create Resources'
Once created, the Prepare Hyper-V hosts servers download button will appear, Download both the agent and the registration key on the hyper-V host
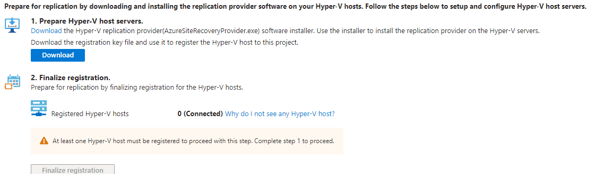
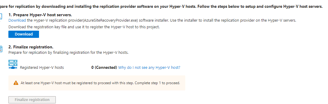
After installation of the agent, click "Register" and specify the downloaded key file.
On Proxy Settings, select "Connect directly to Azure Site Recovery" and ensure internet connection. Firewall issues may cause connection errors.
If Registered Hyper-V Hosts doesn't update, duplicate the tab with same settings from step 2. Click "Finalize registration" once a host is connected.
Discovery may take up to 15 minutes. Check for discovered servers in Azure Migrate under "Servers, databases, and web apps."
Task 5: Replicate VM:
Navigate to Azure Migrate project, under "Servers, databases, and web apps."
Click "Replicate" within the migration and modernization section.
In source settings, confirm VM virtualization as "Yes" with Hyper-V. Proceed.
Under Virtual Machines tab, select "No, I’ll specify migration settings manually."
Choose the server to migrate.
Under Target settings, specify resource group, virtual network, and subnet. Create new if needed for different regions.
In Compute settings, specify OS Type.
In Disks, choose "Standard HDD."
Complete setup and start replication.
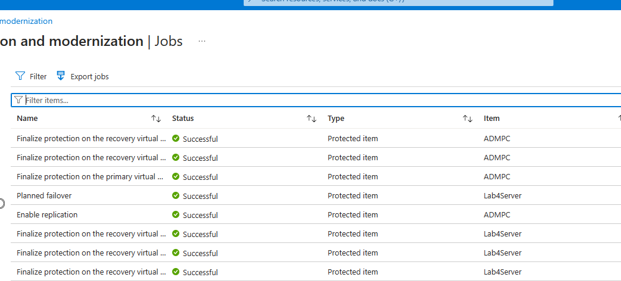
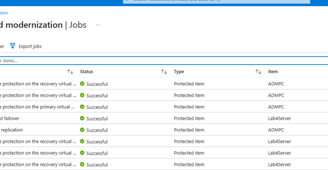
Review replication status:
Within "Servers, databases, and web apps," click "Overview" in the migration and modernization window.
Under Migration, select "Replications" to view replication status. It may take some time, showing as "Waiting for first recovery point."
Click the VM to monitor progress.
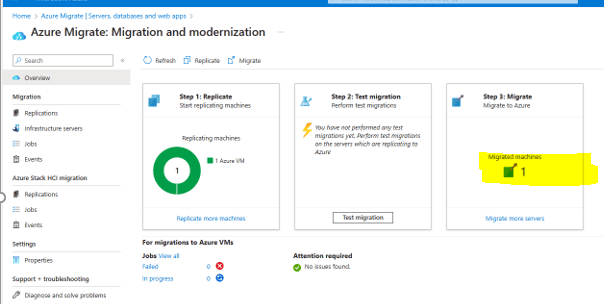
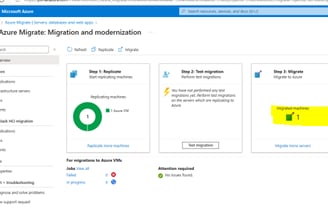
TASK 6: Migrate VM
After replication is complete, status changes to Protected.
Initiate migration by clicking "Migrate" within VM details.
Once migration job finishes, VM appears in Azure's Virtual Machines page.